Set-Up & Troubleshooting
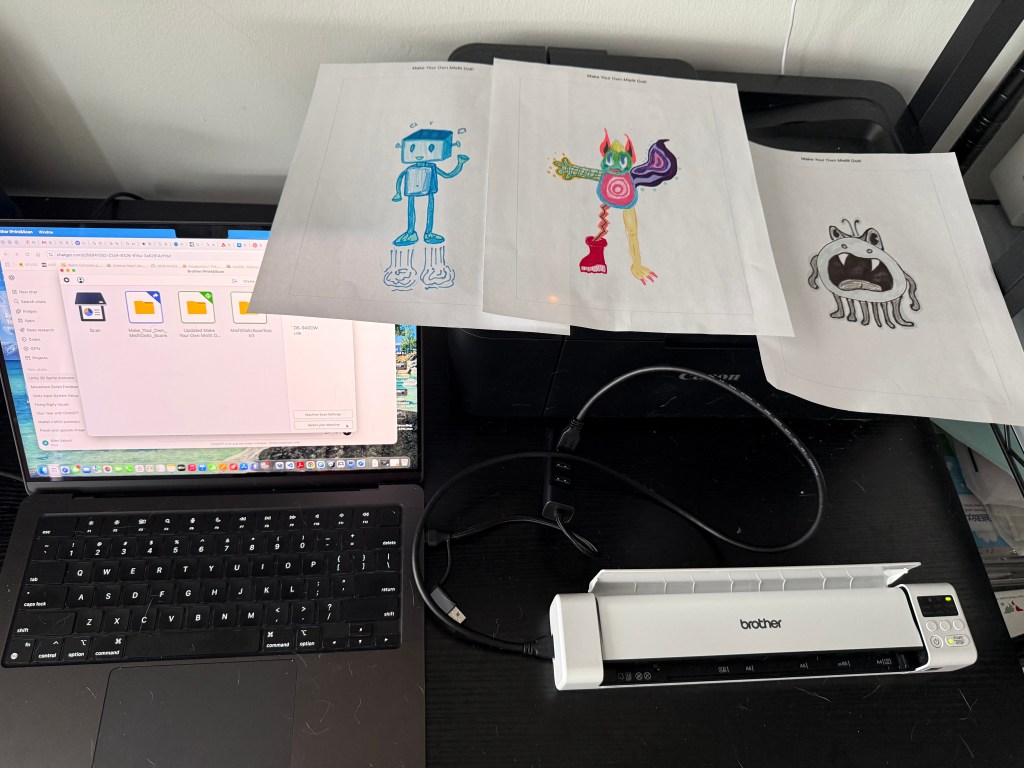
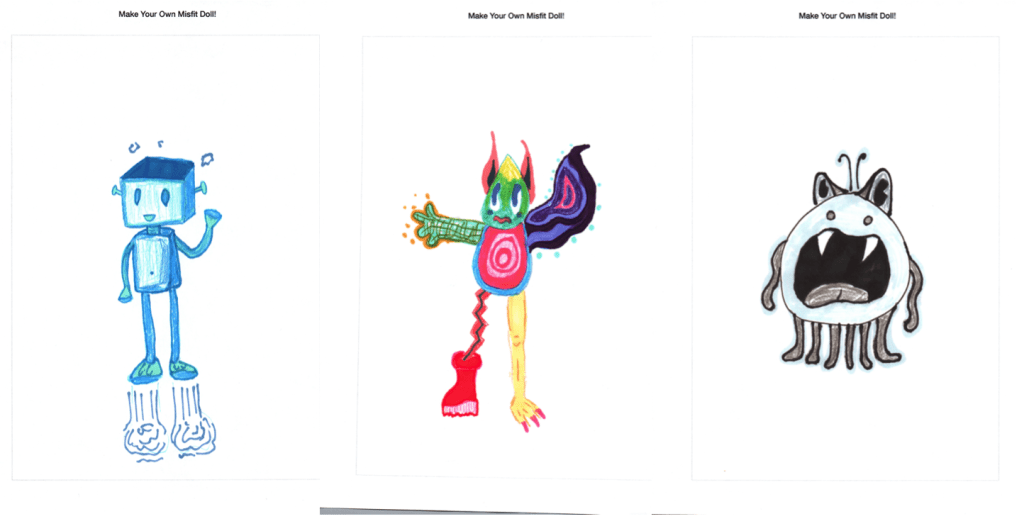
I took a break from developing the virtual environment for the MisfitDollz: XR Experience and began to test scanning and rendering the ‘Make Your Own Misfit Doll’ template prototype. I created three examples to test with a small portable scanner and using the scanner’s compatible software, I made sure that the new scans automatically relocated to the ‘Scans’ folder in my Unity project. Since my plan is to remove the background to only show the sprite, I explored both options on the scanning application and options within Unity to execute this successfully.
Scanning -> Rendering
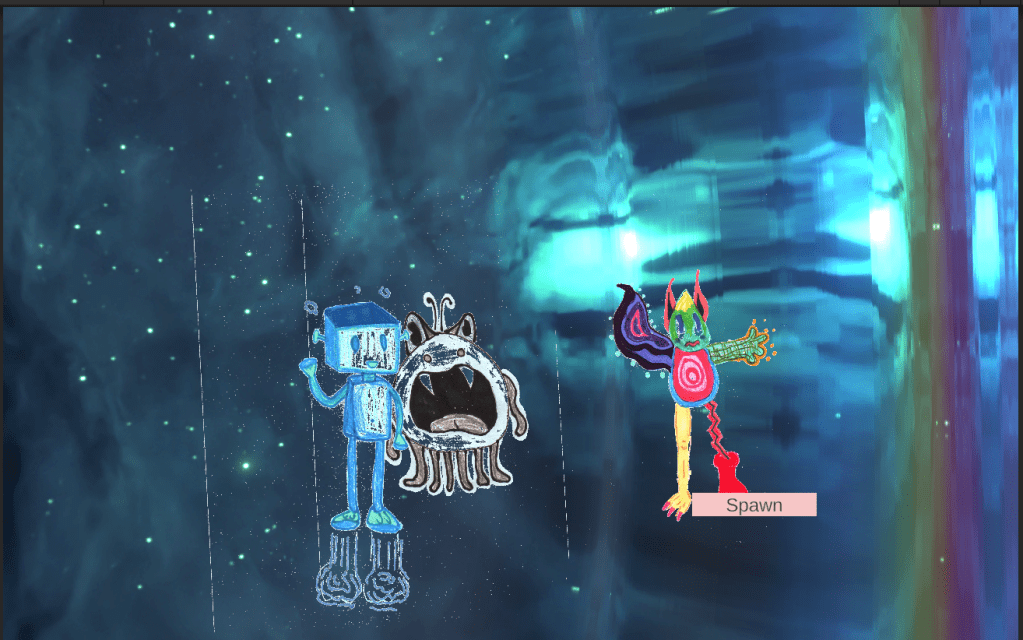
After some research, I learned I could create a script that would render all the scans in my project folder that would also crop and remove the background of my template. Last week, I experimented with attaching the sprite to a particle system, but found that if I have multiple sprites, they would need to be on the same texture atlas to render which would take too long to format or edit in real time. I instead opted to created an empty GameObject parent and a ‘child’ to render the 2D visual. To have my scans spawn properly, I created a button that would prompt the scans to appear on Display 2, a camera to show the renders, an empty game object to locate the spawns in my scene, and another empty gameObject to carry out the functions of the background removal and spawning script. I also created a simple animation script to add some movement to the scans. It’s also important to note, that I purposefully made a multi-colored example, a monochromatic example, and a grayscale example to see how the background removal and cropping script would effect the scans when rendered. While this was somewhat successful, there are still some issues that need to be solved. There were bits of the original border still attached to the new sprite, the alpha or ‘white background’ removal threshold was good for the colorful and monochromatic example, but not the grayscale. The renders tend to overlap each other and I am still trying to figure out ways to adjust these settings, and while the newer scans would relocate to my unity project in real time, they would not render to the project when it was running in real time.
I still, however, consider this progress. I was able to have my scans render, have the background removed, have my renders shown on a second display, now it was a matter of polishing and cleaning up these renders, and adding more interactive elements to the rendered scans.
Next Steps
My next steps following this weeks prototype testing would be (1) to polish the rendering settings for the scans, (2) find a way for the newly added scans to render in real time while the program is running, (3) finish the main Unity environment, (4) think of what interactivity I want in the Misfit Dollz Unity environment, (5) clean up animation transitions for 3D models, make a “Choose Your character” start page for the Misifit Dollz Universe component of this project. I also plan on gathering a focus group to test my ‘Make Your Own Misfit Dollz’ activity.

Leave a comment